Makeup
Camera-Ready Makeup: How to Look Flawless on Lens
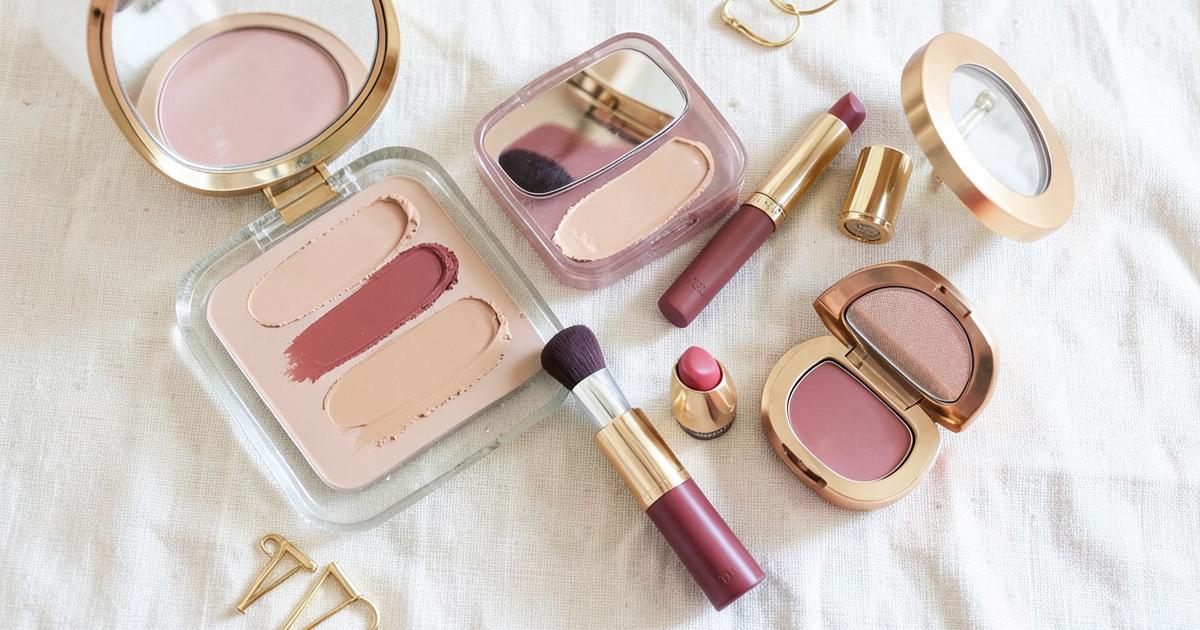
Have you ever felt your makeup looked pristine in the bathroom mirror, only to appear flat, washed out, or strangely shiny in photos? Digital camera lenses and artificial lighting perceive your face through a vastly different optical filter than the human eye. In this guide, we explore how photo makeup behaves on camera and how to adjust your technique for effortless, radiant results every time.
Why makeup looks different on camera than in the mirror
Alongside pigment absorption, lighting angles play a pivotal role in how your features translate on screen. A direct flash or bright spotlight illuminates your face from a single plane, visually washing out the natural contours beneath your cheekbones, jawline, and nose. Without those subtle shadow cues, the face can appear broader and flatter in two-dimensional photography.
It is also essential to consider how lighting for face analysis and photography impacts your undertones. Cool lighting can cast an ashen tone over the skin, whereas warm spotlights tend to exaggerate yellow undertones. Understanding these optical rules is the first step toward creating a makeup look that looks defined, balanced, and perfectly fresh in print or digital media.
How to prevent camera flashback on photo shoots
The main culprits behind flashback are physical mineral sunscreen filters, namely zinc oxide and titanium dioxide. These ingredients are designed to reflect UV light away from the skin, but under intense flash photography, they produce a sheer white veil across the face. Similarly, setting powders made with 100 per cent pure silica can cause severe flashback if applied too generously.
For indoor shoots or evening events featuring flash photography, always choose a liquid foundation free from physical SPF filters, and avoid pure silica setting powders. Formulas labeled as HD translucent or delicate banana powders offer a far safer alternative.
To avoid unwanted glare, select chemical sunscreens when shooting outdoors in natural light, or skip SPF altogether for evening indoor events. Always press setting powder thoroughly into the skin and sweep away any excess with a soft, fluffy brush before stepping in front of the lens.
Strategic powdering: Matte without looking flat
The secret to a camera-ready base lies in strategic powdering. This technique involves carefully setting the central areas of the face while allowing the perimeter to retain a subtle, natural radiance so your skin never looks dry or mask-like.
- Powder only the forehead, bridge of the nose, nostrils, and chin to keep T-zone shine under control.
- Maintain a soft dewiness along the high cheekbones to retain dimensional radiance.
- Use blurring primers to smooth texture and pores rather than relying on heavy matte foundations.
- Keep blotting papers nearby to absorb oil throughout the session instead of adding extra powder layers.
Defining your features: Sculpting and blusher for photography
When building color intensity, layering cream formulas under powders provides superior longevity and pigment clarity. Apply a cream contour and cheek tint first, blend seamlessly with a damp sponge, and set lightly with a matching powder. Choosing the right blusher for your face shape applied slightly higher on the cheekbones creates an instant lifted effect on camera.
Be thoughtful when selecting your highlighter, too. Avoid formulas containing coarse glitter particles, which cameras register as speckled white dots or oily patches. Instead, choose finely milled, silky highlighters that lend a seamless sheen to the skin.
Camera-ready eye and lip precision
On the eyelids, balance matte and subtle satin finishes. Matte transition shades in the crease add depth that camera lenses capture beautifully. A dark tightline along the upper lash roots gives the illusion of dense, full lashes, even without falsies.
When it comes to your lips, strong flash photography can blur the crispness of the lip line. Using a lip pencil one shade deeper than your lipstick is key. It prevents feathering, adds dimension, and holds a neat shape from every camera angle.
Quick touch-ups and final skin prep
Instead, keep blotting sheets on hand. Gently press a sheet over the forehead, nose, and chin to lift excess sebum without disturbing the foundation beneath. Only after blotting should you sweep a tiny amount of translucent powder over key areas if necessary.
Before starting a full photo session, perform a quick flash test. Take your smartphone, turn on the flash, and snap a selfie in a dimly lit room. This quick check will reveal immediately if your base is seamlessly blended, if any flashback spots exist, and if your blusher has enough intensity.
Frequently asked questions
Why does my makeup look pale and washed out in photos?
Camera sensors and harsh studio lighting absorb 30 to 40 per cent of your makeup's pigment. To ensure your complexion looks healthy and defined on screen, blusher, bronzer and lipstick need to be applied with slightly more intensity than for everyday wear.
What causes that white ghostly flashback on flash photography?
Flashback is caused by reflective ingredients such as zinc oxide and titanium dioxide in SPF sunscreens, or pure silica in translucent powders, which bounce the camera flash direct back into the lens.
Should I wear foundation with SPF for a photo shoot?
If you are being photographed indoors under artificial light or flash, avoid foundations with SPF. For outdoor shoots in natural daylight, sunscreen is fine, but opt for chemical filters rather than physical mineral blocks.
How can I control T-zone shine on camera without looking powdery?
Set only the central zone of your face (forehead, nose and chin) with a sheer translucent powder, leaving the high points of your cheekbones slightly luminous. Use blotting papers before posing to absorb excess oil rather than layering more powder.
In closing
Camera-ready makeup doesn't require heavy layers—it simply requires smart formulas and an understanding of how light interacts with skin. By skipping physical SPF under flash photography and strategically setting your T-zone, you'll avoid harsh glare while retaining fresh dimension. Remember that subtle boosts in brow definition and blusher intensity make all the difference on screen. Armed with these techniques, you'll step in front of any camera feeling effortlessly confident.
Related reading
How to contour your face by shape: a practical guide
Contouring isn't about drawing lines, it's about moving light. Once you know where your face needs shadow, two or three strokes are enough.
Blush for your face shape: where to apply it correctly
Blush is the fastest tool for correcting proportions — as long as it goes in the right place, and not always on the "middle of the cheek".
Main guides